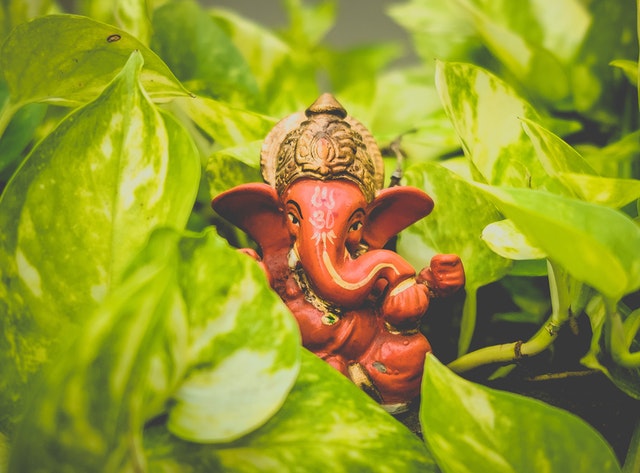
Making miniatures is a delicate art that requires patience and firmness, but also gracefulness in order to add all the desired details to the pieces.
Visit our sponsor for all your Jackson, MS Parking Lot Striping needs.
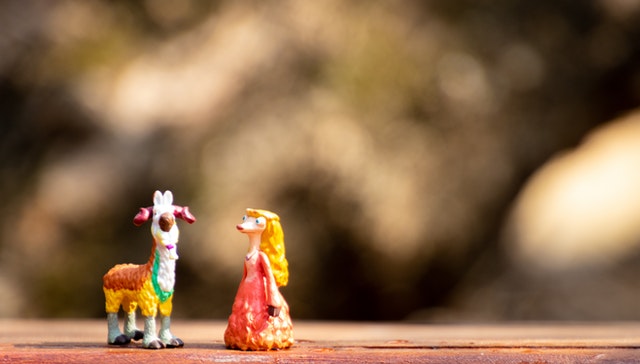
It is laborious but also fun, and there are certain tips or guidelines to perform the task the best that the artist can, especially at the time of working with the different types of brushes and applying the finishes for making each miniature as impressive as envisioned:
- First of all, while it is true that you can paint a miniature with one single brush, it wouldn’t be nor easy nor the most effective technique. You will most likely precise a variety of brushes depending on what step of the process you’re performing and from what angle you’re painting. Follow the indications:
- Large, softer brushes for applying main colors.
- Small, tapered brushes for fine detail painting.
- Larger, stiffer brushes for drybrushing.
- Select and use a sort of paint that is quick to dry.
- The first step is priming. For this you will need a spray paint that won’t stamp or opaque the details put into the miniature. It is better if you start by performing a small number of gentle passes to get the correct coverage instead of a single substantial pass that could cause staining or dripping or dam up all the detail of the miniatures.
- For properly priming, make each of the miniatures to stand erect and separate them from one another to a safe distance so they won’t block each other from the paint.
- Paint the miniature front, and afterwards the back. Once the first cover dries up, lay the miniatures down to paint the foundation, front and back. It is important to get a steady thorough coverage of the miniature so that additional paint will stick as it is supposed to.
- After priming, the next step is drybrushing, it is a procedure that uses a complementary paint to make the details to noticeably stand out. (By using a dark primer and then a light drybrush, the topmost coats of paint will have darker hues in the indentations and lighter hues on the highlights.)
- The easiest way to spread over drybrushing onto a miniature is to get a little bit of paint on the brush and then remove almost all of it by passing it over the paint palette. (Put the paint to test on your finger in advance of spreading it over the miniature.)
- As soon as you have an appropriately light amount of paint on your brush it is time to drybrush the miniature, progressively bringing the brush across the miniature in a speedy to and fro cue.
- The moment the brush gets in contact with the miniature, you will see the details initiate to truly stand out visually.
- As soon as all the dry brushing is completed, it is time to change onto smearing the colors to the miniature. Use shades that make the details the most noticeable.
Did you enjoy the article today? We hope you found a lot of solid information. If you have any comments or questions please contact us today. Also if you have any tips to share, please submit your tips to us. If we end up using your tip on our site we will give you full credit. Please visit our sponsor Parking Lot Striping Jackson, Mississippi.